A refrigerator can be a useful family noticeboard, but without a plan it quickly becomes a crowded patchwork of menus, school papers, photos, and reminders. The best refrigerator magnet layouts give each item a clear place, leave room for updates, and make important information visible at a glance. You do not need a large collection of magnets or a perfectly styled kitchen; you need a repeatable arrangement that matches how your household actually communicates.
This guide explains how to divide the door into practical zones, choose magnets for different jobs, and troubleshoot the common reasons a noticeboard becomes messy again.
Start with the door, the traffic, and the information
Before placing a single magnet, observe the refrigerator door for a day. Which parts are easiest to see while someone is making breakfast? Which area is opened most often? Is the door divided by a handle, water dispenser, or other feature? A layout that looks balanced in a photograph may be awkward if the family reads it from one side or if a frequently used handle blocks a note.
Measure the usable magnetic area, then mark three simple boundaries with removable paper tape. Keep the boundaries temporary until you have tested them for several days. A practical starting division is:
- Top zone: time-sensitive information, such as tomorrow’s appointment, school pickup change, or dinner plan.
- Middle zone: the family action area for shopping lists, chores, meal ideas, and short messages.
- Side or lower zone: reference items, photos, children’s artwork, or decorative magnets that do not need daily attention.
If your household includes young children, place their reachable section low enough for them to view without climbing, but reserve a higher section for medication reminders, private information, or fragile papers. If the refrigerator is in a narrow walkway, keep bulky stacks away from the opening edge so papers do not catch on sleeves or handles.
Next, decide what deserves the door. A noticeboard is easier to maintain when each paper has a reason to stay. A useful test is: “Will someone act on this within the next two weeks?” If the answer is no, move it to a folder, calendar, photo frame, or digital archive. Keep emergency contacts and sensitive personal information in a more private location rather than displaying them publicly.
For a small door, use one central “today” area instead of trying to create separate zones for every family member. For a wide door, assign columns: household tasks on the left, schedules in the middle, and food or shopping on the right. The layout should reflect decisions your family makes, not categories that merely sound organized.
Choose a layout pattern that is easy to reset
The most reliable layouts use a small number of repeatable patterns. Select one based on the way your family reads information.
The three-column layout works well for busy households. Put the weekly schedule in the center, shopping and meal notes on one side, and school, work, or household tasks on the other. Use a vertical line of magnets as a visual boundary. This keeps a grocery list from drifting into the appointment area and gives every paper a default destination.
The priority stack is better when notices change every day. Place the most urgent note at the top, the current week beneath it, and longer-term reminders at the bottom. When a new message arrives, it goes at the top and the oldest item is removed. This is especially useful for short-term changes such as an early pickup or a delivery window. Do not use it for several months of calendars; the stack will become hard to scan.
The grid layout suits families who share chores or routines. Create rows for people or tasks and columns for days of the week. Small notes or cards can move across the grid as jobs are completed. Leave a clear margin around the grid so the magnets do not hide headings. If your notes are different sizes, align their top edges rather than forcing every item into a precise rectangle.
The display-plus-action layout separates things to enjoy from things to do. Keep photos and artwork in a lower or side display area, and reserve the central area for actionable papers. This prevents a favorite drawing from competing visually with a school permission slip. Rotate display items on a set day, perhaps when you refresh the weekly plan.
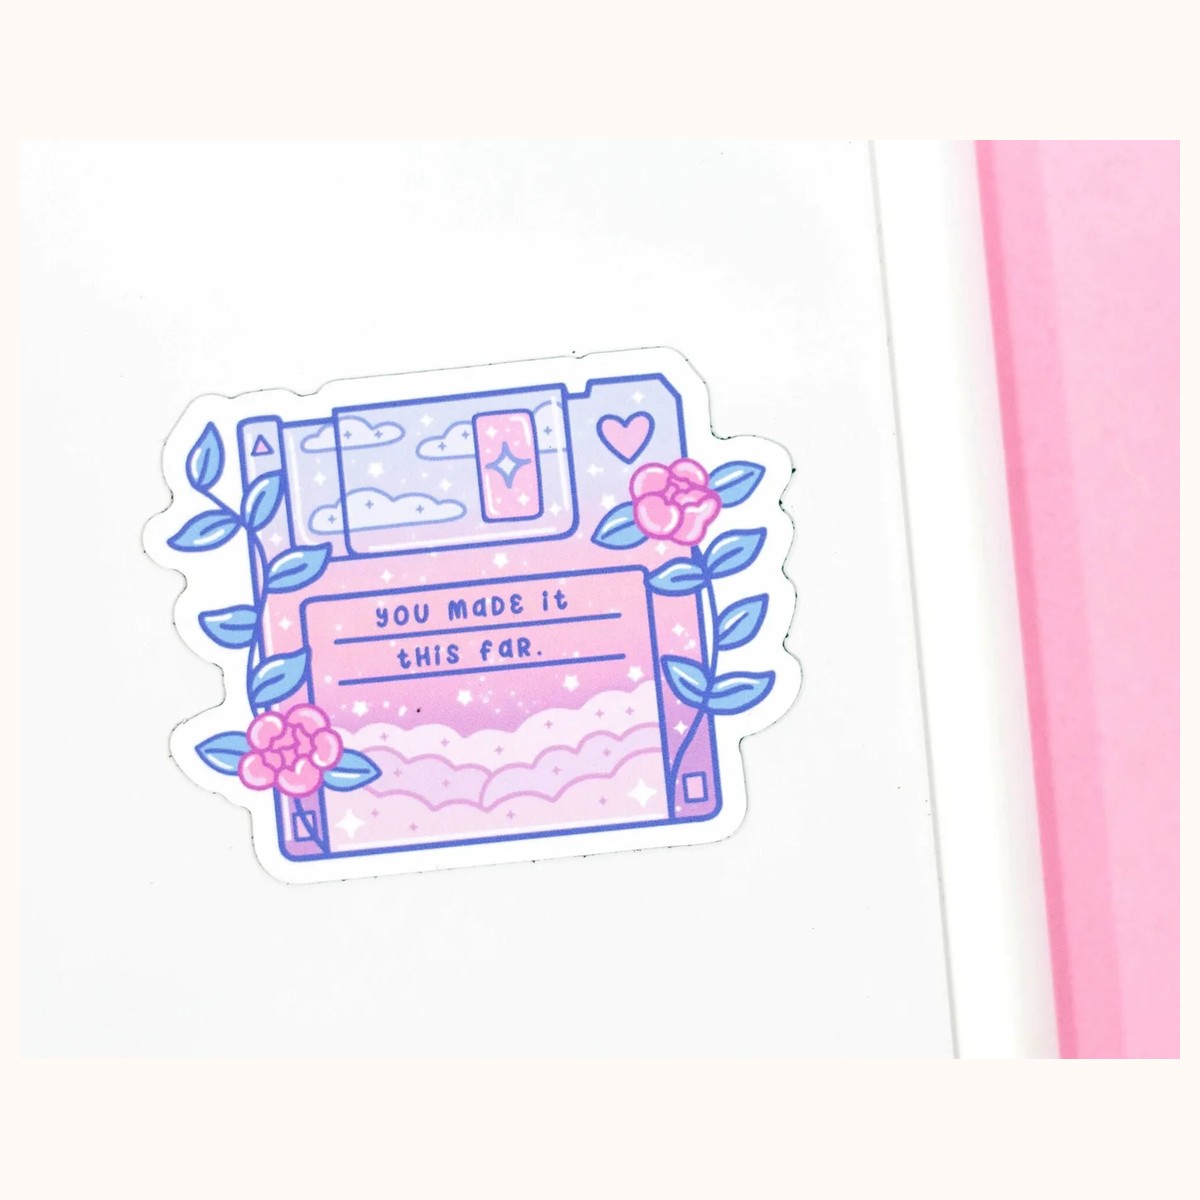
Use magnets as labels as well as fasteners. For example, the Floppy Disk Aesthetic Cute Aesthetic Fridge Board Magnet can act as a playful marker for a “tech” or reminders area, while the Stacked Books Aesthetic Cute Aesthetic Fridge Board Magnet can identify reading lists, library returns, or homework notes. These are examples of visual anchors: one recognizable shape helps people locate a zone without reading every paper.
Keep the visual language consistent. If one magnet marks “urgent,” use that idea every time rather than giving the same role to three unrelated magnets. Avoid placing decorative pieces evenly over the whole door if they make the functional sections difficult to distinguish. A tidy layout can still be colorful; the goal is predictable meaning, not bare metal.
Build a working system for notes, lists, and routines
A layout stays tidy when each paper has a next step. Put a small heading on each zone using a card, label, or handwritten note: “This week,” “Buy,” “School,” or “Display.” Then set rules that are easy to follow:
1. One paper, one purpose. A shopping list should not also become the place for unrelated phone numbers. Start a separate note when the purpose changes. 2. Date temporary notices. Write the date received and, when relevant, the date the notice stops mattering. This makes the weekly clear-out faster. 3. Use a single capture point. Keep one shopping list in the same spot. Family members should not have to search the door for the current version. 4. Limit layers. Place magnets around the edges of a paper where possible. Layering several notes underneath one another hides information and creates forgotten scraps. 5. Keep writing space visible. A magnet that decorates the center of a note may cover the very detail someone needs to read.
For a hydration or routine reminder, a small marker such as the Drink Water Aesthetic Fridge Magnet can sit beside a daily checklist rather than on top of it. The point is not to add another message everywhere; it is to give a recurring habit a stable visual cue. If a reminder is ignored, move it to the line of sight used at the relevant time or replace it with a more specific action, such as “fill bottle before leaving.”
A kitchen noticeboard can also support transitions. Place the Day and Night Cute Aesthetic Dishwasher Square Magnet | Clean and Dirty Text beside the dishwasher or on a nearby magnetic surface, where its status is visible at the moment dishes are put away. Keep status indicators separate from general family notices so they are not mistaken for messages.
When choosing a new piece, browse the refrigerator magnets collection and first decide its job: anchor, label, reminder, or decoration. A compact ticket-shaped option such as the Ticket Aesthetic Cute Fridge Magnet can help create a small visual boundary without taking up a full note. Check the product page for the current description and dimensions before planning a tight arrangement. If you need clarification about a product or how to verify catalog details, use the store’s contact page.
Troubleshoot clutter before redesigning everything
If papers keep sliding into the wrong zone, the problem may be the rule rather than the arrangement. Add a visible heading or move the zone closer to where the task happens. If family members ignore the central schedule, test a more prominent position for one week instead of adding larger lettering everywhere.
If the door looks crowded, remove decorative items first and count the papers that remain. Give each paper a review date. A notice without an owner or next action is usually an archive candidate. For artwork, display one or two pieces and keep the rest in a dated folder; rotating them preserves the child’s work without turning the refrigerator into storage.
If magnets cover text, shift them to corners or use two magnets along the top edge. If a paper curls, replace the arrangement with fewer layers and check whether the magnetic surface is clean and dry. Do not assume a magnet should hold a heavy bundle: use it for lightweight papers and split a thick stack into separate notes when necessary.
If the system collapses after a few days, reduce the number of zones. A family that will not maintain four sections may successfully maintain two: “Act this week” and “Keep for reference.” Likewise, if everyone writes on separate scraps, provide one clearly labeled capture note and agree on who transfers completed actions to a calendar or list.
Schedule a five-minute reset once a week. Remove expired notices, rewrite unclear reminders, return stray magnets to their assigned zones, and ask whether the layout still matches the family’s current routine. Seasonal changes, a new school timetable, or a shift in work hours may justify moving a zone. A tidy noticeboard is not a permanent display; it is a small household system that should be allowed to change.
Related reading: How to Build a Personalized Gift Bundle · How to Choose Stickers for Journals and Planners · Why Handwritten Greeting Cards Still Matter