A sticker collection can start with one favorite sheet and quickly become a stack of loose pages, half-used designs, and tiny stickers hiding in drawers. The goal is not to display everything at once; it is to make every sticker easy to find, protect the designs you want to keep, and reserve only as much space as the collection genuinely needs. This guide shows how to organize a sticker collection using compact categories, flat storage, and a simple rotation habit that works for planners, pen-pal mail, scrapbooks, and everyday decorating.
1. Decide what deserves permanent space
Before buying containers, do a short inventory. Put every sticker sheet, individual sticker, transfer, and partially used page in one place. Do not sort by color immediately. First ask three practical questions:
- Will I use this? Keep designs that fit a real project, such as planner icons, envelope decorations, labels, or scrapbook accents.
- Do I want to preserve this? Some stickers are favorites, gifts, or part of a themed set. They may deserve a protected archive even if you are not ready to use them.
- Is this still a sticker? Separate sticky notes, washi tape, labels, and paper ephemera. They can live nearby, but mixing them into the sticker pile makes the collection harder to search.
Create three temporary groups: use soon, save, and pass along or recycle. “Use soon” should not mean “use someday.” Give it a specific purpose, such as decorating this month’s weekly spread or preparing three letters. If a sheet has sat untouched through several projects and does not have sentimental value, it may be taking up space without serving you.
A useful rule is one-in, one-out for storage limits. If your sticker binder or box is full, choose whether a new purchase replaces an item or whether the storage system needs one controlled expansion. This prevents a collection from growing into several unplanned piles. You can also set a visible capacity, such as one binder plus one shallow archive box. The limit is easier to follow when it is physical rather than an abstract promise.
Do not discard a sheet just because it is incomplete. A page with a few small stickers left can be moved to a “remnants” pocket and used for borders, corners, or small planner spaces. The decision is whether the remaining pieces are accessible, not whether the original sheet is intact.
2. Sort by how you will use the stickers
The most space-efficient categories are based on retrieval, not an elaborate taxonomy. Start with four or five broad groups:
1. Planner and functional: check marks, reminders, dates, study icons, and labels. 2. Decorative themes: clouds, food, travel, books, plants, animals, or seasonal designs. 3. Mail and paper projects: envelope accents, journaling pieces, scrapbook elements, and letter-themed sheets. 4. Large or specialty pieces: oversized decals, waterproof designs for smooth objects, or sheets you want to keep flat and clean. 5. Remnants: loose stickers and partly used sheets that need to be used first.
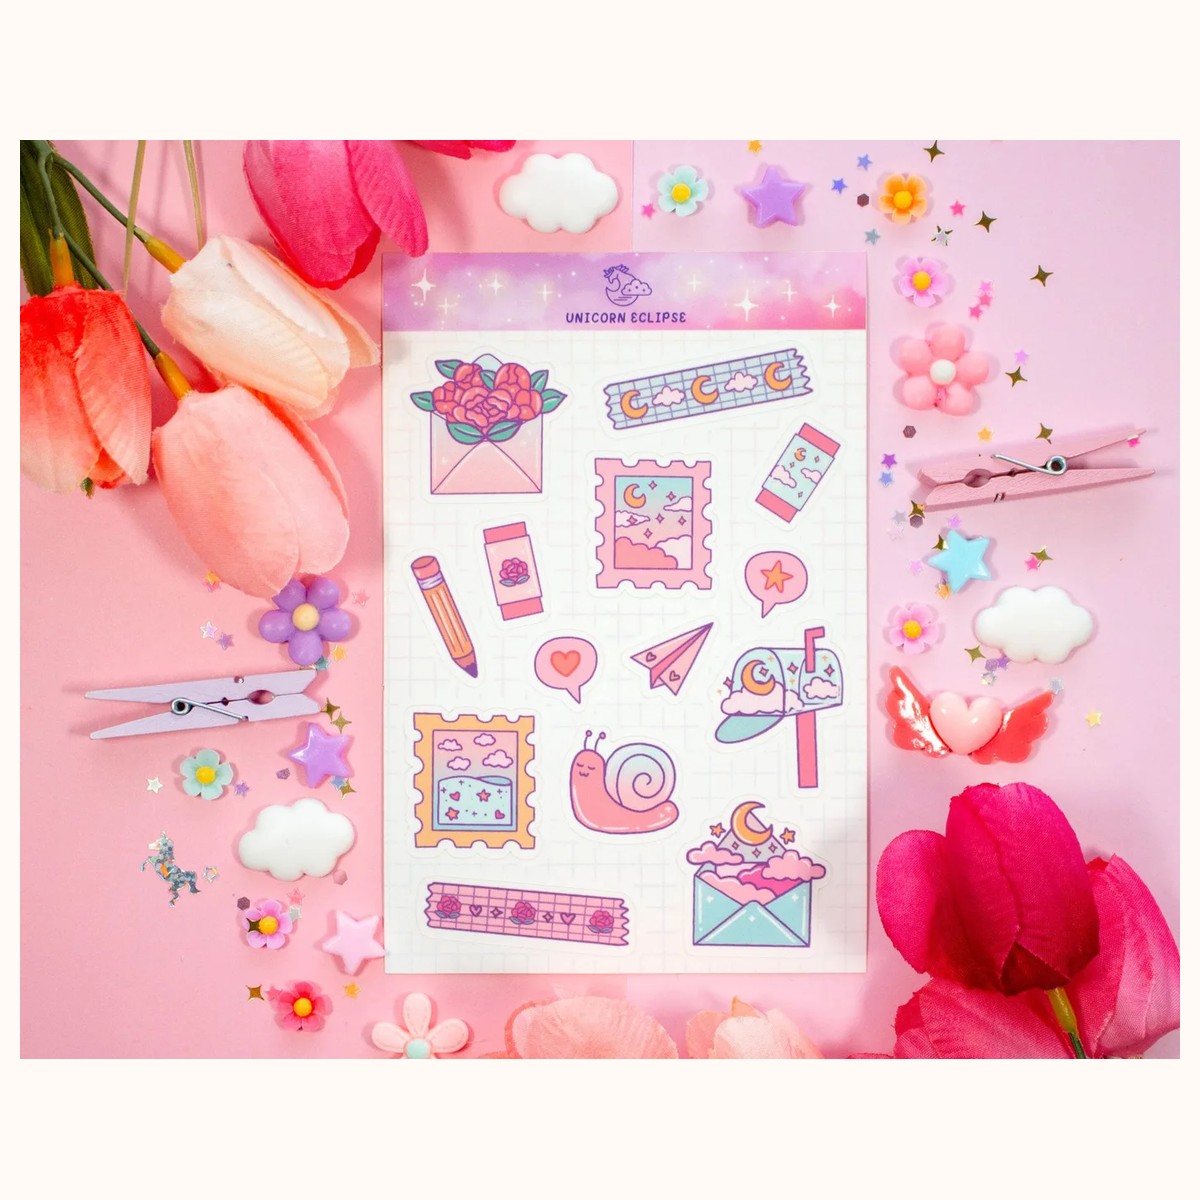
For example, the Penpal Snail Mail Aesthetic Matte Sticker Sheet belongs naturally in a mail-and-paper-project section. A sheet such as the Blue Computer Sticker Sheet can sit in a decorative or tech-themed divider, while the Cloudy Skies Aesthetic Sticker Sheet might be filed with dreamy decorative designs. These are examples of retrieval paths: file an item where you would look for it first.
If you frequently use stickers in one activity, make that activity the top-level category. Someone who decorates planners every week may need “planner,” “functional,” and “decorative” sections. Someone who sends letters may prefer “envelopes,” “thank-you notes,” and “seasonal mail.” A collector who buys mostly by theme can reverse the order. There is no benefit in forcing every person into the same filing system.
Keep category names broad enough to avoid one-divider clutter. If “blue food stickers” has only one sheet, place it under “food” or “decorative” and add a small note if needed. Too many micro-categories consume both physical space and decision-making time.
When a sticker could fit two groups, use a single home and record a cross-reference on an index card or label. Do not create duplicate storage just because a design is versatile. If you are unsure where an item belongs, file it by the next use you can name. You can move it later during a monthly reset.
3. Choose flat storage that matches your collection
Flat storage protects sheets from curling and makes unused space easier to measure. Pick one primary method instead of buying several organizers that each hold a little.
Binder with clear pockets. A slim binder works well for full sheets and small groups. Use dividers for your broad categories and put remnants in a dedicated pocket near the front. If a sheet is too large for a pocket, do not bend it to make it fit; use a larger sleeve or archive it flat elsewhere. Leave a little room in each section so pages can be removed without pulling apart the whole stack.
Accordion file or expanding folder. This is useful when you want categories without turning every sheet into a page in a binder. Label the tabs with words you actually use, such as “mail,” “planner,” “animals,” and “seasonal.” An expanding folder can sit upright on a shelf, but it should not be packed so tightly that the pages bow or fall out when opened.
Shallow document box. A box is suitable for duplicates, saved favorites, and less frequently used sheets. Store sheets upright only if they are supported; otherwise, lay them flat in small bundles. Put the most-used category on top and keep a simple index on the lid or first card. A deep box often becomes a hiding place, so choose a container that lets you see the contents without emptying it.
Pocket pages for small stickers. For individual stickers, use small pockets or an envelope inside the main binder. Group loose pieces by immediate use rather than trying to reconstruct their original collection. A “small accents” pocket may be more useful than ten tiny theme pockets.
Measure the actual sheets before choosing sleeves. The catalog includes compact 4-by-6-inch sticker sheets, so a storage pocket that comfortably fits that format can reduce wasted room while keeping pages visible. Product dimensions and finishes can vary, so confirm current details on the stickers collection page or ask through the contact page when a fit or listing detail matters.
Avoid storing stickers in a place that is damp, exposed to direct sun, or pressed under heavy objects. Keep the collection away from loose pens, snacks, and craft tools that could mark or crease sheets. If a sticker arrives curled, place it flat between clean pages with light, even pressure for a while; do not use heat or moisture as a shortcut. If adhesive edges collect dust, move that item to a protective sleeve instead of pressing it against other loose pieces.
4. Label, rotate, and troubleshoot the system
A good system should help you put stickers away in seconds. Label each divider with a large, readable word and add a tiny “last sorted” date to the front index. You do not need a detailed inventory of every design unless your collection is large enough to justify it. For most people, a category list and a few notes are sufficient.
Keep a use-first pocket at the front. Put there partial sheets, designs selected for an upcoming project, and stickers that need a little extra care. Check it before opening a new sheet. This simple habit reduces duplicate buying and stops remnants from disappearing into storage.
Create a rotation tray only if it fits your space. A small desktop envelope can hold the current month’s choices: perhaps clouds for a reading journal, computer motifs for study planning, and mail-themed pieces for letters. At the end of the month, return unused items to their categories and choose a new small group. Rotation gives the collection visibility without displaying every sheet.
Troubleshoot based on the symptom:
- You cannot find anything: reduce categories and label by use. If you search three sections for one type of sticker, merge them.
- Sheets slide out or bend: reduce the number in each pocket, use a sleeve with a better fit, or move oversized pages to a flat box.
- Loose stickers stick to each other: separate them with individual pockets, backing scraps, or a dedicated envelope. Keep adhesive surfaces from touching.
- You keep buying duplicates: photograph or list the collection’s broad categories before shopping, then check the use-first pocket and archive.
- The binder is full: remove true duplicates, use remnants, and move inactive favorites to a labeled archive box. Expand only after you have reviewed what is already there.
- You forget what you own: keep the current rotation visible and perform a five-minute monthly browse rather than a complete reorganization.
The best organization system is one you can maintain when you are busy. Start with one container, four broad labels, and a use-first pocket. After a month, notice which category you reach for, which one stays untouched, and where retrieval slows down. Adjust the labels before buying more storage. That way, your sticker collection remains compact, usable, and ready for the next page, envelope, or creative project.
Related reading: How to Choose Stickers for Journals and Planners · Vinyl vs. Paper Stickers: A Complete Guide · Best Stickers for Scrapbooking: A Creative Guide