A mousepad quietly collects the evidence of a busy day: skin oils, crumbs from a quick snack, dust from the desk, and the occasional coffee splash. Good mousepad cleaning and care keeps the surface comfortable and helps your mouse move consistently without turning a small maintenance job into a risky soak. The right routine depends on the pad’s construction, so start with its care instructions and use the gentlest method that solves the problem.
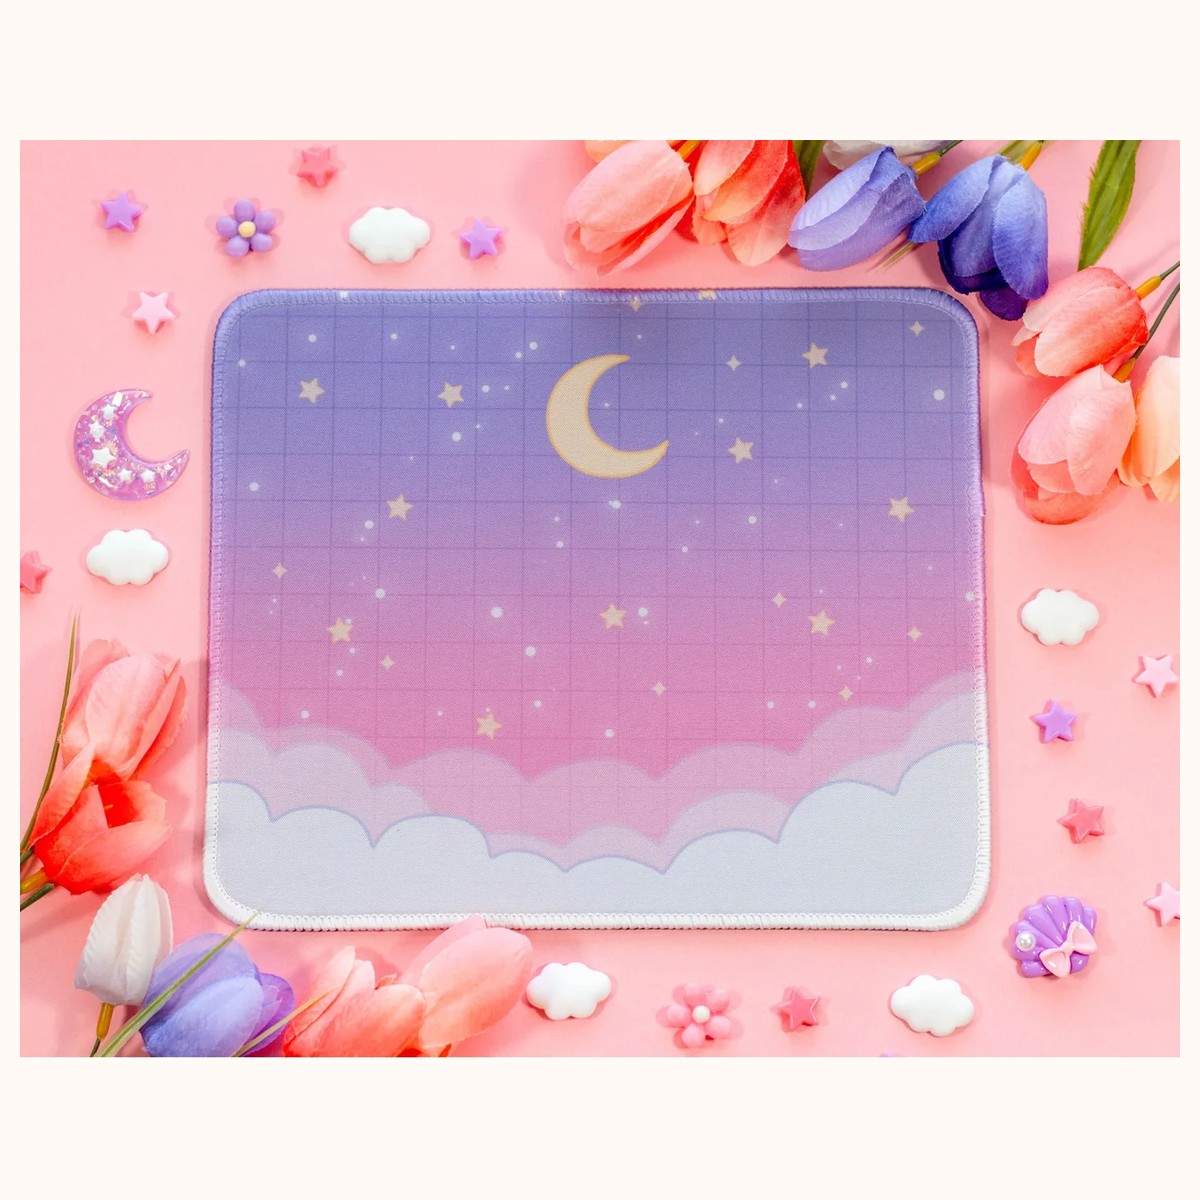
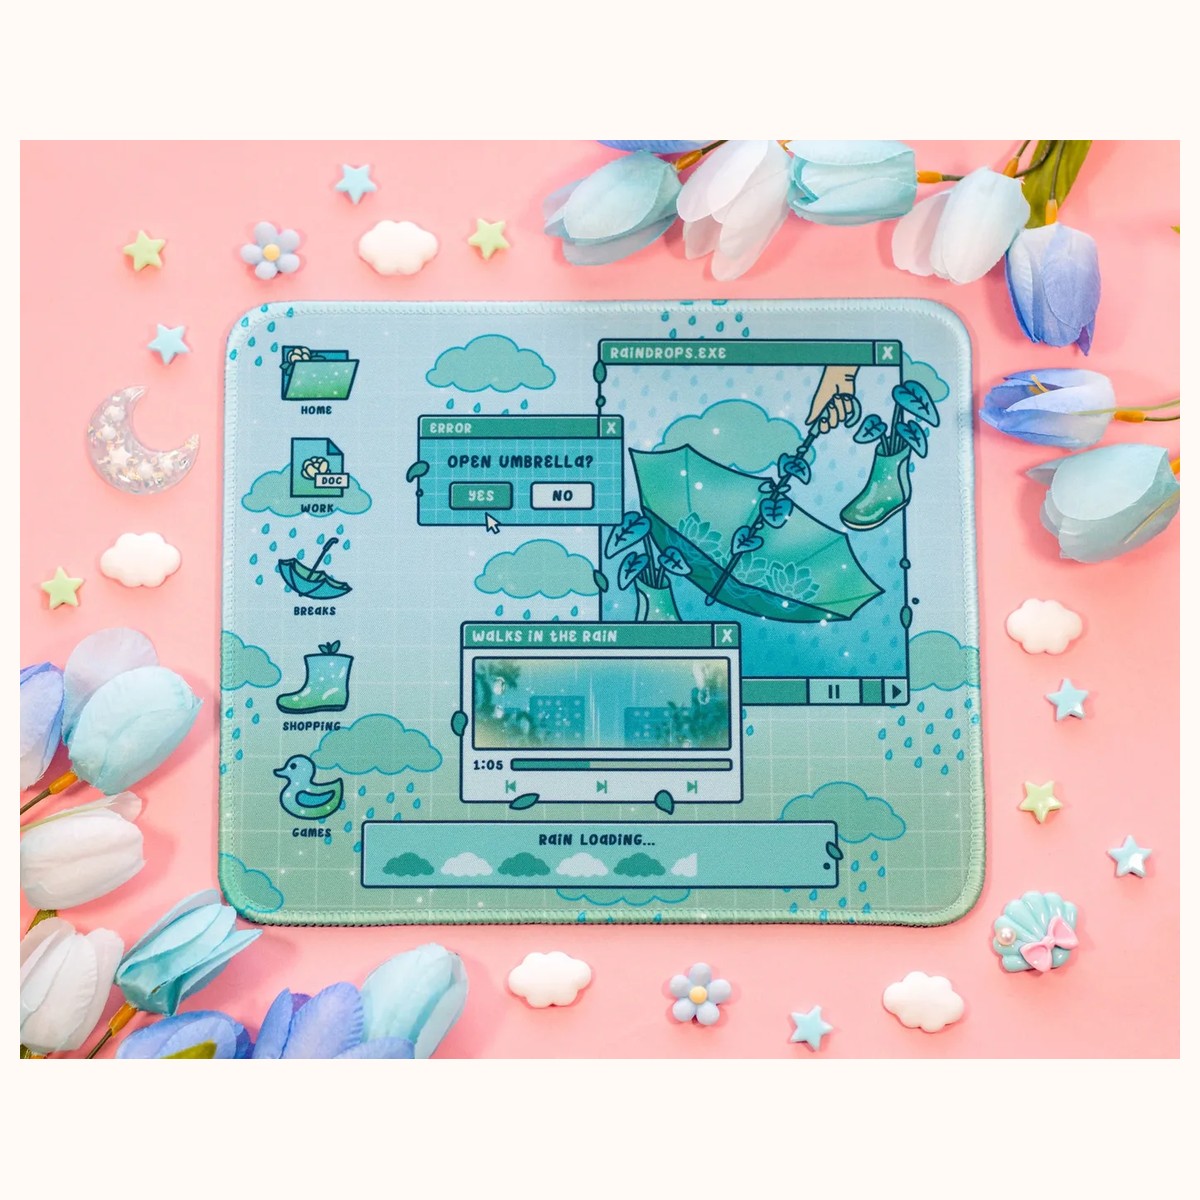
This guide focuses on practical desk habits for fabric-topped pads with a non-skid backing, including the compact Starry Clouds Cute Mousepad and Rainy Day Cute Mousepad. Both product descriptions recommend hand washing with soap and lukewarm water, gentle spot treatment with a soft-bristle brush, and air drying. Use those details as a useful model, not as permission to treat every mousepad identically.
Start with the right cleaning decision
Before adding water, identify what actually needs attention. A few crumbs require a different response from a dried drink ring, and a frayed edge should not be scrubbed as if it were a stain.
A quick inspection
Unplug or move the mouse, lift the pad from the desk, and check the top, stitched perimeter, and underside. Shake loose crumbs over a bin or brush them away with a dry, soft brush. Look for:
- Surface dust or crumbs: begin dry. A lint roller used with light pressure or a clean, soft brush can remove debris without wetting the pad.
- Small fresh spill: blot promptly with a clean, absorbent cloth. Press and lift rather than rubbing outward, which can spread the mark.
- Dried or greasy patch: plan a small spot treatment with diluted mild soap and lukewarm water.
- Odor, broad discoloration, or several dirty areas: consider a careful hand wash if the product’s instructions allow it.
- Peeling, bubbling, or a lifting rubber base: pause before washing. Water and agitation may worsen separation; replacement or seller guidance may be more sensible.
If your pad has electronics, lighting, a wrist-rest insert, leather, paper decoration, or an adhesive underside, do not assume a fabric-pad method is safe. Follow the item’s own instructions or contact the store through Farouk Book Store’s contact page for product-specific verification.
Prepare the workspace
Move the pad away from your keyboard, laptop, and papers before cleaning. Keep a dry towel nearby and use a bowl or sink that is free of food residue and harsh cleaners. Avoid bleach, strong solvents, abrasive powders, and very hot water unless the manufacturer specifically says otherwise. These products can affect printed artwork, coatings, stitching, or rubber—even when the top looks washable.
For routine desk care, clean the surface every few weeks or whenever it feels tacky, visibly dusty, or less pleasant to use. A shared or snack-heavy workspace may need attention more often; a clean, low-traffic desk may need less. The useful signal is condition, not a rigid calendar.
How to hand-wash a fabric mousepad
For a compatible fabric mousepad, hand washing is usually easier to control than a washing machine. It lets you protect the print, edges, and backing while concentrating effort only where it is needed.
Step-by-step method
1. Remove dry debris first. Gently brush or shake away loose particles. If crumbs remain, they can become muddy grit during washing. 2. Use lukewarm water. Wet the surface gradually rather than dropping the pad into a full sink. Lukewarm water is a practical middle ground; very hot water may be unnecessarily harsh on adhesives, prints, or backing. 3. Add a small amount of mild soap. Mix a little soap into the water instead of pouring it directly onto the artwork. You want enough cleaning solution to lift ordinary desk oils, not a thick layer that is difficult to rinse out. 4. Treat the mark gently. Dab the soiled area with a soft cloth or soft-bristle brush. Use short, light strokes and work from the outside of a spot toward its center. Do not use a stiff household brush, nail brush, or rough sponge. 5. Rinse thoroughly. Flush away soap with clean, lukewarm water. Leftover detergent can make a fabric surface feel stiff or attract more dust. 6. Press out water. Place the pad flat between clean towels and press. Do not twist, wring, or fold it sharply; those actions can stress stitched edges and the backing. 7. Air dry completely. Lay it flat with the fabric side exposed in a well-ventilated area. Keep it away from direct high heat, radiators, hair dryers, and strong prolonged sun. Do not return it to the desk while the underside is damp.
The mousepads collection is a useful place to compare current designs and review each product’s listed care details before you buy or clean. For the Starry Clouds Cute Mousepad, the listed construction includes a soft woven top, non-skid rubber backing, and reinforced stitched edges; those features make gentle hand washing and flat air drying the appropriate practical approach described above. They do not make the pad indestructible, waterproof, or suitable for aggressive cleaning.
When spot cleaning is enough
Do not fully wash a pad just because one corner has a small mark. Place a dry towel under the area, apply a little diluted soap to a cloth, and dab in small passes. Rinse the cloth, dab again to remove soap, then press with a dry towel. This uses less water and reduces the time the backing stays wet.
For a drink spill, first identify whether the liquid contained milk, sugar, or oil. Blot as much as possible before treating. A plain water spill may need only blotting and thorough drying; a sweet or creamy drink may leave stickiness and justify a mild-soap spot clean. If a stain remains after one gentle pass, let the pad dry fully before deciding whether a second pass is worthwhile. Repeated aggressive scrubbing can be more damaging than a faint mark.
Drying, desk placement, and everyday prevention
Drying is part of cleaning, not an afterthought. A damp mousepad can feel cool and uneven, transfer moisture to the desk, or develop an odor if it is covered before it has dried. Pressing with towels speeds the process without the concentrated heat that can distort materials.
Make air drying safer
Lay the pad on a clean, flat towel or drying rack with support across its surface. If you use a rack, make sure the bars do not leave sharp bends. Turn the pad only after the exposed side feels dry and the underside is no longer cool or tacky. Drying time varies with room humidity, pad thickness, and how much water was used, so check by touch rather than relying on a fixed number of hours.
Avoid these shortcuts:
- Do not iron the pad.
- Do not tumble-dry it unless its own care label explicitly permits that method.
- Do not place it on a hot radiator or under a strong heat source.
- Do not stack books or equipment on it while it is damp.
- Do not roll it tightly to speed drying.
If the pad dries with a curled edge, place it flat on the desk without forcing it under heavy objects. Give it time to relax naturally. If the curl persists or the backing has visibly separated, stop using it for precise work and seek product guidance.
Prevent the next mess
A few habits reduce how often deep cleaning is needed. Keep drinks on a separate coaster, avoid eating directly over the pad, and wipe the desk around it so dust is not pushed back onto the fabric. Wash and dry your hands before long work sessions when practical, especially after applying hand lotion. Keep pens, clips, and sharp objects from dragging across the surface.
A mousepad also works better when it lies flat on a clean desk. If the underside gathers dust, wipe the desk and gently brush the backing rather than scrubbing it with a wet cloth. Periodically lift the pad so you can clean trapped crumbs underneath; this is particularly useful when the pad sits beside a keyboard or notebook where debris accumulates.
Troubleshooting common cleaning problems
A careful routine cannot restore every damaged pad. Use the result of each cleaning attempt to decide whether to repeat, stop, or replace.
The surface still feels sticky
First check whether soap remains. Rinse a clean cloth thoroughly, dab the area several times, and air dry completely. If the tackiness remains only where a sugary drink landed, one additional mild spot treatment may help. Avoid adding stronger chemicals simply because the first pass was inconclusive. If the surface has become sticky across a broad area or the rubber feels degraded, further washing may make the problem worse.
The print looks lighter or uneven
Stop rubbing. Some visual variation may be caused by the pad being wet or by lighting while it dries. Let it dry fully before judging the result. If color loss remains, document the condition and contact the seller rather than attempting bleach, alcohol, or abrasive cleaner. Product images can also appear different because of photography, lighting, printing, and screen settings, so compare the dry pad with the original listing rather than a phone display alone.
The mouse movement feels rough after washing
Check for dried soap, lint, or a warped edge. Rinse and dry again only if the pad remains structurally sound. Clean the mouse feet and desk surface separately with appropriate care, because drag can come from debris on either side of the pad. If the top has developed raised fibers, deep creases, or a loose seam, replacement is safer than repeated brushing.
The pad smells after drying
Confirm that both sides are fully dry and that no towel, desk mat, or drawer trapped moisture against it. Increase ventilation and allow more time uncovered. Do not mask the odor with fragrance sprays, which may leave residue on the fabric. If odor persists after a gentle, fully rinsed wash, or if the backing feels gummy, contact the store for advice.
Mousepad cleaning and care is ultimately a small, repeatable habit: remove dry debris, treat spills early, wash only when the construction allows it, rinse thoroughly, and air dry flat. For everyday fabric pads such as the Starry Clouds Cute Mousepad or Rainy Day Cute Mousepad, gentle handling protects both practical comfort and the artwork while keeping your workspace ready for the next task. For questions about a specific item, use the contact page before trying an unfamiliar cleaning method.
Related reading: How to Choose Stickers for Journals and Planners · Vinyl vs. Paper Stickers: A Complete Guide · 2026 Stationery Trends: Color, Texture, and Joy