Washi tape page borders can turn an ordinary journal, planner, scrapbook, or reading notebook into a more considered project. The difference between a crisp edge and a wrinkled strip usually comes down to preparation: choose a border position, test the tape, apply it in short controlled sections, and trim only after the adhesive has settled. This guide explains how to make washi tape page borders that look intentional without making your pages difficult to write on or turn.
Plan the border before you unroll the tape
Start with the page, not the roll. Decide whether the border will run along the outer edge, the top or bottom edge, or one short section beside a heading. A full outer edge gives a framed effect, while a narrow strip down the side leaves more room for notes. If the page will be used often, a partial border is often the more practical choice because it reduces the amount of tape exposed at the opening edge.
Place the open notebook on a flat surface and close it once to see where the cover, page corners, and binding sit. On a bound notebook, keep the tape away from the fold unless you specifically want a decorative spine accent. On a loose scrapbook page, check both sides: a strip that looks balanced on the front may cover a photo, journaling line, or important detail on the reverse.
Measure visually with a ruler or a clean scrap of cardstock. You do not need to mark every millimetre; two or three light pencil points are enough to guide a long run. For example, if your border will sit 5 mm inside the outer edge, mark that distance at the top, middle, and bottom. Those reference points help you correct drift before it becomes obvious.
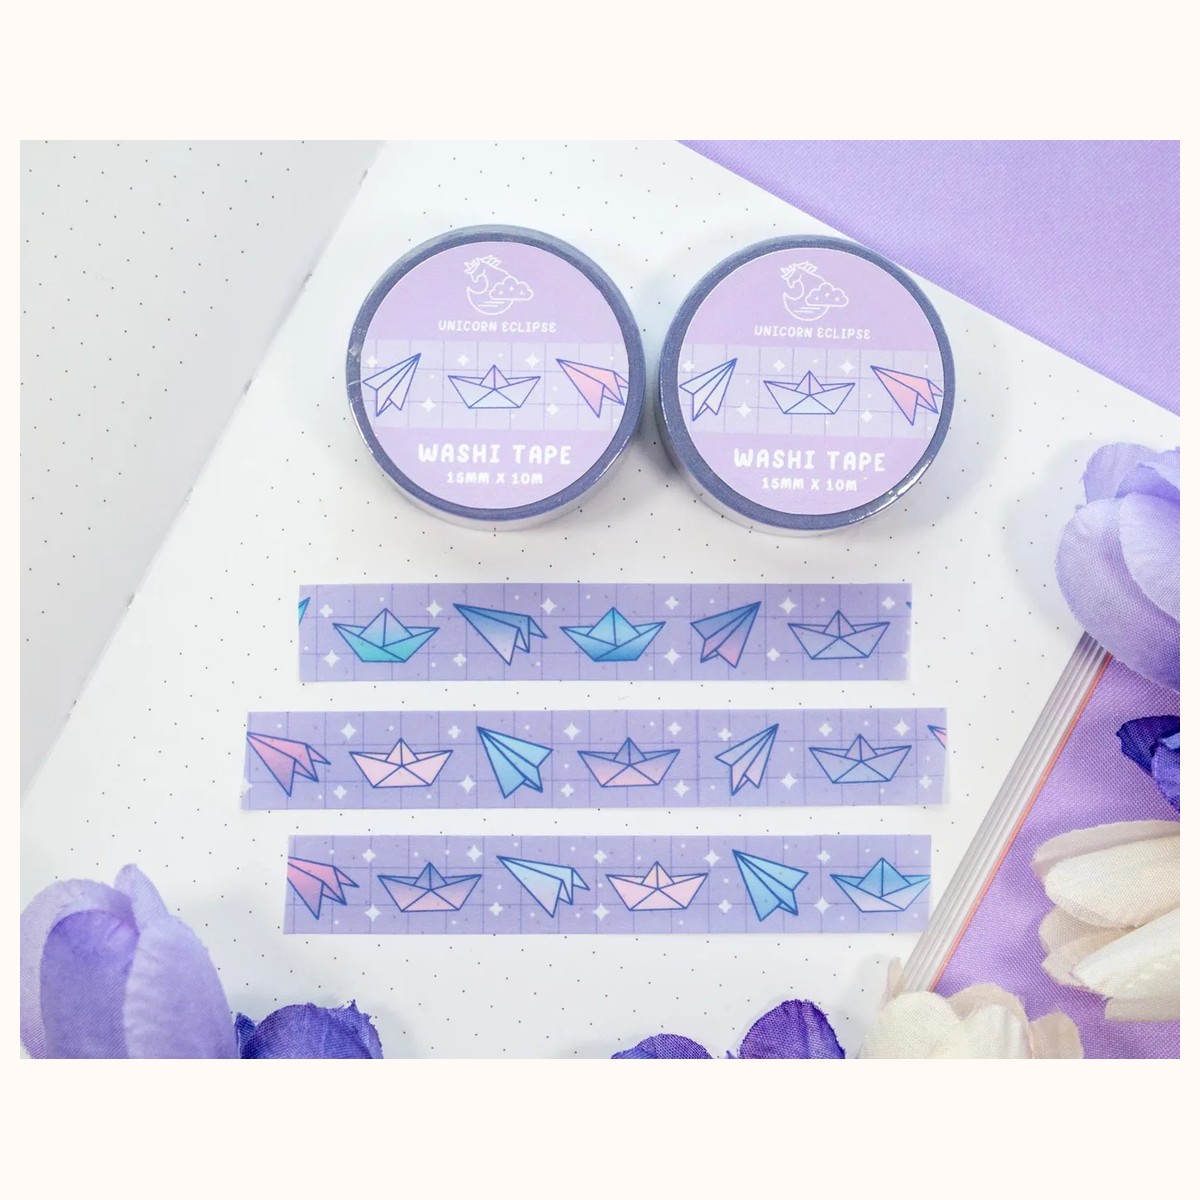
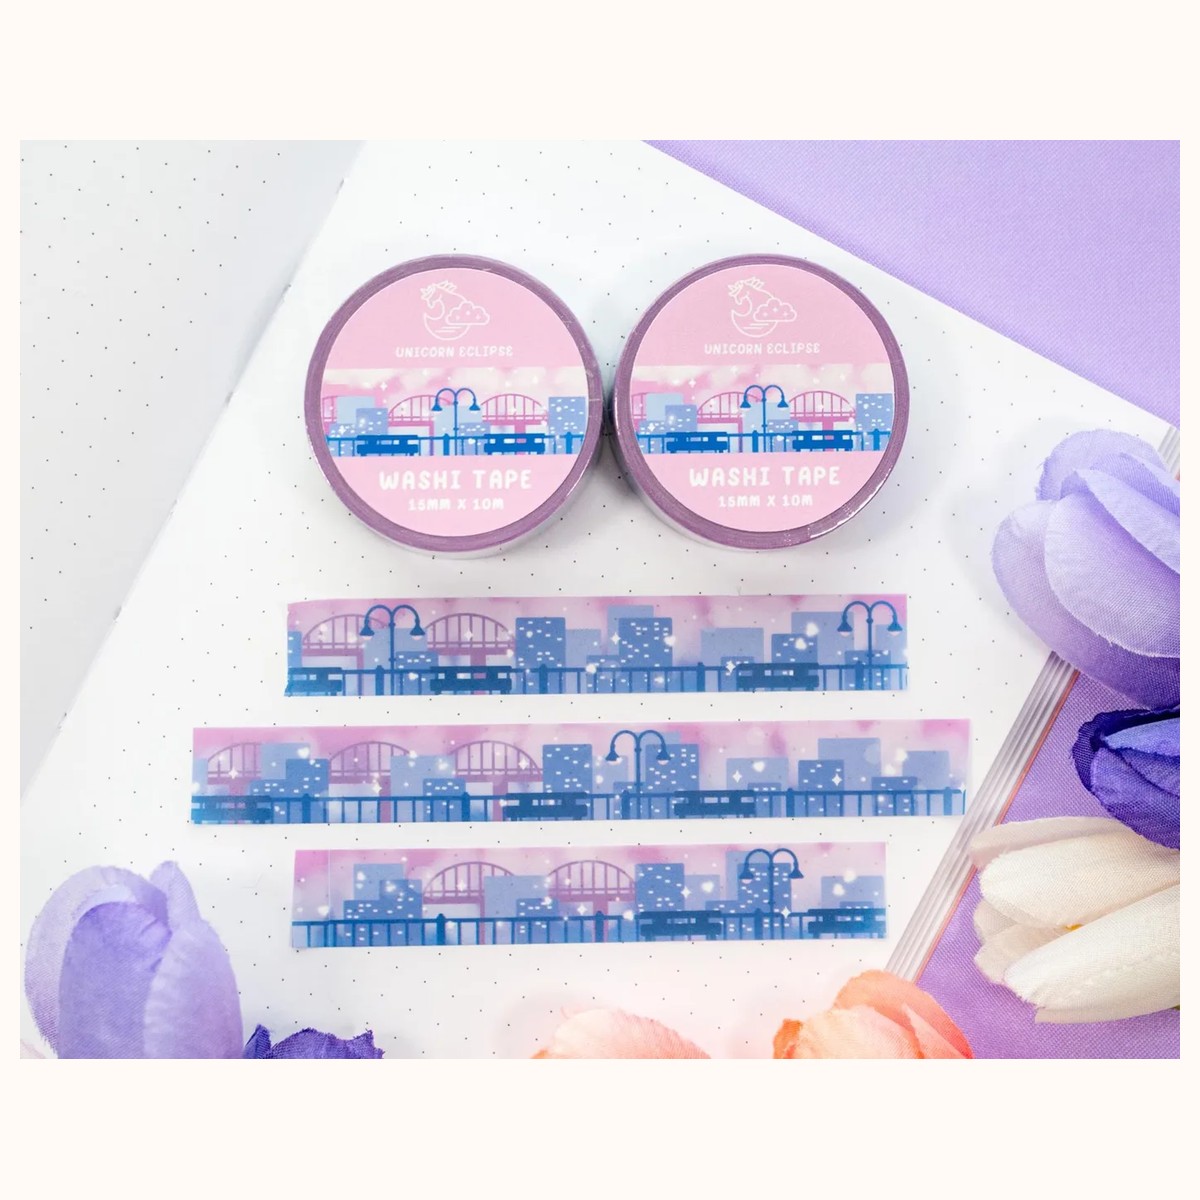
Choose the pattern with the edge in mind. A small repeating print is forgiving on a narrow border because minor shifts are less noticeable. A skyline, stripe, or foil design needs more attention to alignment. The City Skyline Washi Tape can suit an urban journal edge, but its skyline direction makes it worth checking that buildings remain upright. For a softer, busier border, Paper Planes and Boats Washi Tape offers a playful repeating motif.
Before committing, test a short piece on a spare page from the same notebook or on an inconspicuous area. Check three things: whether the colour works against the paper, whether writing remains comfortable beside it, and whether the adhesive lifts cleanly enough for your project. Product descriptions can guide expectations, but paper texture and page coating vary. If you are unsure about suitability, use the store’s contact page to verify a product detail before applying a long strip.
Apply in short sections for a straight edge
Wash and dry your hands, then clear away crumbs, eraser dust, and loose fibres. A clean, dry page gives the tape a better chance of lying flat. Avoid applying over wet ink, fresh paint, or a heavily textured embellishment; those surfaces can make the strip buckle or fail to sit evenly.
Tear or cut a manageable length rather than pulling a full border directly from the roll. For a small notebook, begin with a section roughly the length of your palm. Hold the tape lightly between both hands, line its long edge up with your pencil references, and touch down only the first 2–3 cm. Do not press the entire strip at once. If the beginning is crooked, lift it carefully and reset before continuing.
Once the starting edge is positioned, smooth the tape with a fingertip or the flat side of a clean card. Move from the attached section toward the free end, using gentle overlapping strokes. This pushes air outward instead of trapping it under the middle. Keep the roll close to the page and let out only a little tape at a time. Pulling hard can stretch a paper tape strip, which may make the pattern or edge look uneven after release.
For a long border, use the “anchor, smooth, pause” rhythm: anchor a few centimetres, smooth outward, then pause to check the line. Compare the tape with the page edge rather than with the printed pattern, since an illustration may not be perfectly symmetrical. If the tape begins to wander, stop immediately. It is much easier to correct a short section than to rescue a complete side.
At a corner, do not force the strip around in one sharp movement. Stop just before the corner, burnish the last flat section, and decide whether you want a folded corner or a clean mitered join. A folded corner is quick: leave a small overhang, fold it over the next edge, and press it flat. For a sharper look, trim the first strip at the corner, then start the next edge with a fresh piece and overlap it minimally. The second method creates a visible join, so place it at the bottom or another less prominent point.
If you are creating a double border, apply the wider or visually stronger strip first. Leave a consistent gap—use a scrap of cardstock as a spacer—then add the second strip. Two bands that slowly converge will look accidental, even if each one is individually straight.
Trim, seal, and correct imperfect sections
Trim after the tape is applied, not before. Press the tape flat at the edge, place a ruler where you want the cut, and use sharp scissors or a craft knife with a cutting mat. If using a knife, cut away from your body and protect the table and the page beneath. A ruler with a non-slip underside helps prevent a sudden slip that can nick the paper.
For an edge that ends at the page boundary, align the ruler with the paper edge and make one deliberate cut. Avoid sawing back and forth: repeated passes can fray the tape or score the page. If the tape extends past a rounded corner, make small relief cuts in the overhang before folding or trimming. This reduces puckering and helps the material lie flat around the curve.
Press the finished border once more with a clean card, especially along the outer edge and at each join. Do not rub aggressively over a printed or foil detail. The goal is firm contact, not a polished shine. Leave the page flat for a short while before closing the notebook so the strip is not immediately pushed into a new crease.
Small bubbles do not always require removing the whole border. For a bubble near the middle, lift back only to the nearest flat section, smooth from the centre outward, and reapply slowly. For a crease that has permanently folded the tape, replacement is usually neater than repeated lifting. Cut out the damaged section with straight ends, add a matching patch, and place the join at a natural break in the pattern.
If the strip is noticeably crooked, correct it early and gently. Lift from one corner while supporting the page with your other hand. Pulling upward quickly can lift fibres from delicate paper. Reposition once, then stop if the page surface begins to change. A slightly imperfect border is better than a damaged page, particularly in a book you intend to use every day.
When a border will be handled often, keep the exposed overhang minimal. Tape wrapped around a page edge can catch on another page or peel when the book is opened. For a frequently used planner, consider stopping the tape a few millimetres short of the edge and finishing with a clean trim. For a decorative scrapbook page that will stay flat, a full-bleed edge may be worth the extra visual impact.
Make the style work for your notebook and routine
Neatness is not only about straight lines; it is also about choosing a border that supports how the page will be used. In a planner, place tape beside a weekly column or across a divider rather than over writing areas. In a reading journal, a bottom border can separate quotations from reflections. In a scrapbook, use the border to echo a photo’s colours, but leave breathing room so the page does not feel boxed in.
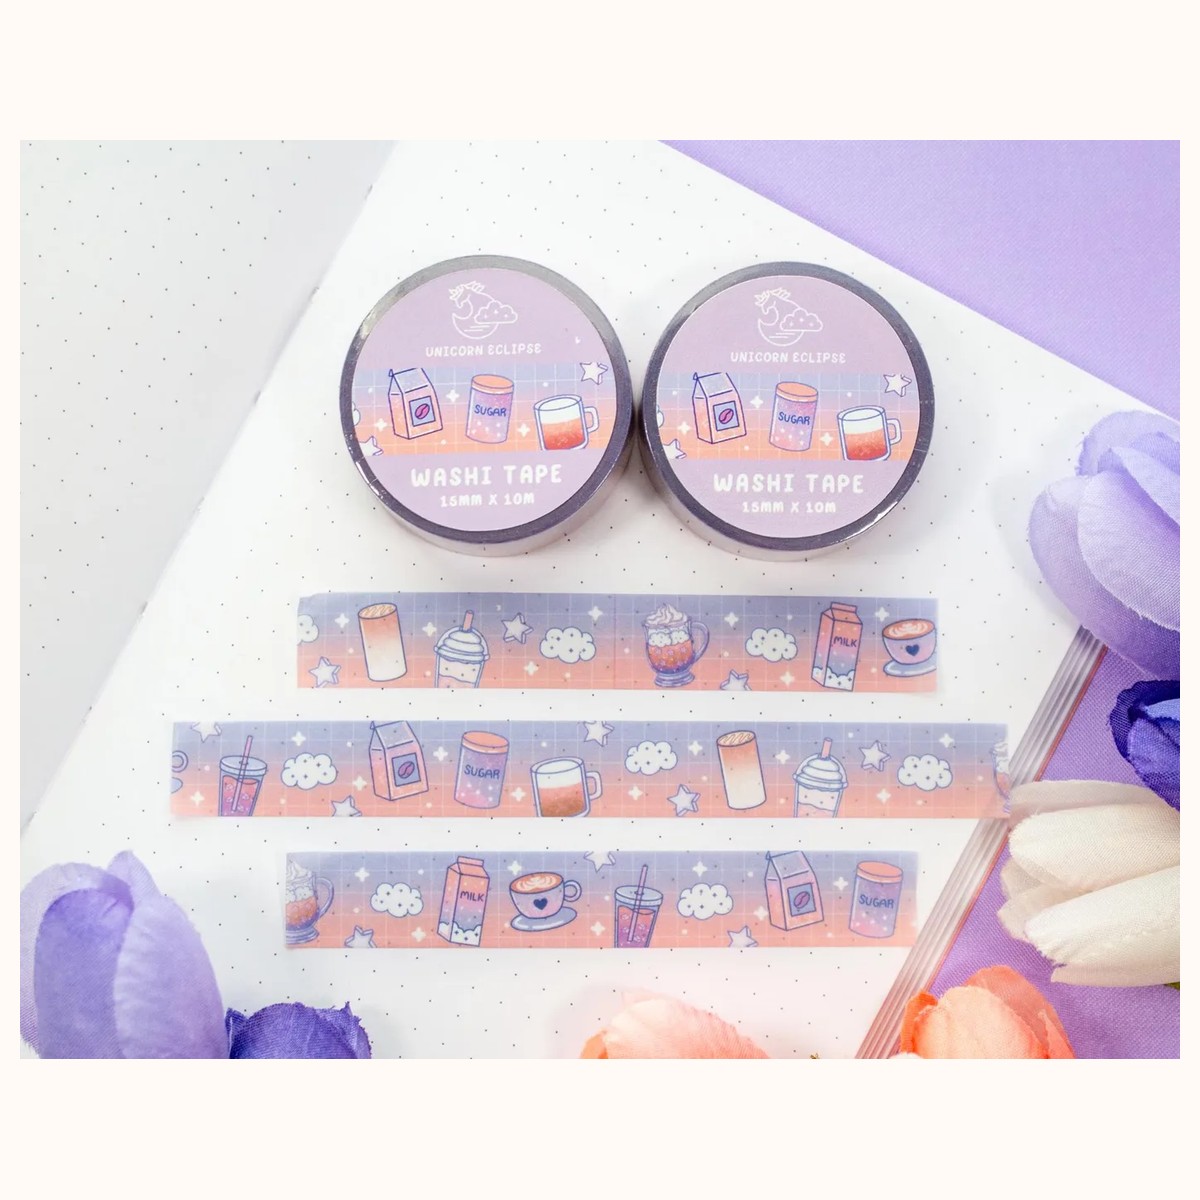
Limit the number of competing directions. A vertical side border and a horizontal top border can frame a title, but adding tape to all four edges may make a small page feel crowded. If the pattern is bold, use one edge. If the tape is pale or finely printed, two adjacent edges can create a quieter frame. The Coffee Shop Kawaii Aesthetic Washi Tape could work as a cozy accent beside a café-themed spread, while Pink Galaxy Silver Foil Washi Tape may be better reserved for a title line or one edge where its reflective detail remains a focal point.
Repeat a simple visual rule across a project: the same distance from the page edge, the same corner treatment, and a similar length for partial strips. Consistency makes handmade decoration look deliberate. Keep a small offcut of each tape in the notebook pocket or craft box so you can match a future repair without guessing which pattern was used.
Store rolls away from dust and direct heat, and keep the loose end flat against the roll when you finish. If the tape edge becomes folded or dirty, tear off that small damaged portion before the next application. A clean starting edge is easier to align. For a collection of designs, you can browse the washi tape category and choose by width, pattern, and the role the border needs to play rather than by colour alone.
Finally, judge the border with the notebook open and closed. Open pages reveal whether the line is straight and whether writing remains accessible; the closed notebook reveals whether a corner catches or an edge protrudes. If the border passes both checks, you have a practical decoration—not just a pretty strip that looks good for one photograph.
Related reading: How to Choose Stickers for Journals and Planners · Best Stickers for Scrapbooking: A Creative Guide · 2026 Stationery Trends: Color, Texture, and Joy