If you have seen decorative tape in planners, journals, or gift wrap and wondered how to use it, this guide to washi tape for beginners gives you a simple starting point. Washi tape is a narrow, patterned tape commonly used to decorate paper, mark pages, make borders, and add temporary labels. You do not need a large craft kit: one roll, a pair of scissors, a scrap of paper, and a project with a clear purpose are enough.
The easiest way to learn is to treat your first roll as both decoration and a practical tool. Try a short strip, notice how it behaves on your chosen surface, then decide whether you want a neat minimalist accent, a bold repeated pattern, or a useful label. The goal is not a perfect spread; it is learning what your tape can do without making a project feel crowded.
Choose a first roll with a clear job
Start by choosing the project before choosing a pattern. If you want to decorate a weekly planner, a narrow 15 mm roll is convenient for headers, dividers, and small boxes. If you want a border on a card or envelope, pick a design that will still look clear when cut into short pieces. A busy pattern can be fun, but a simpler print is easier to align while you are learning.
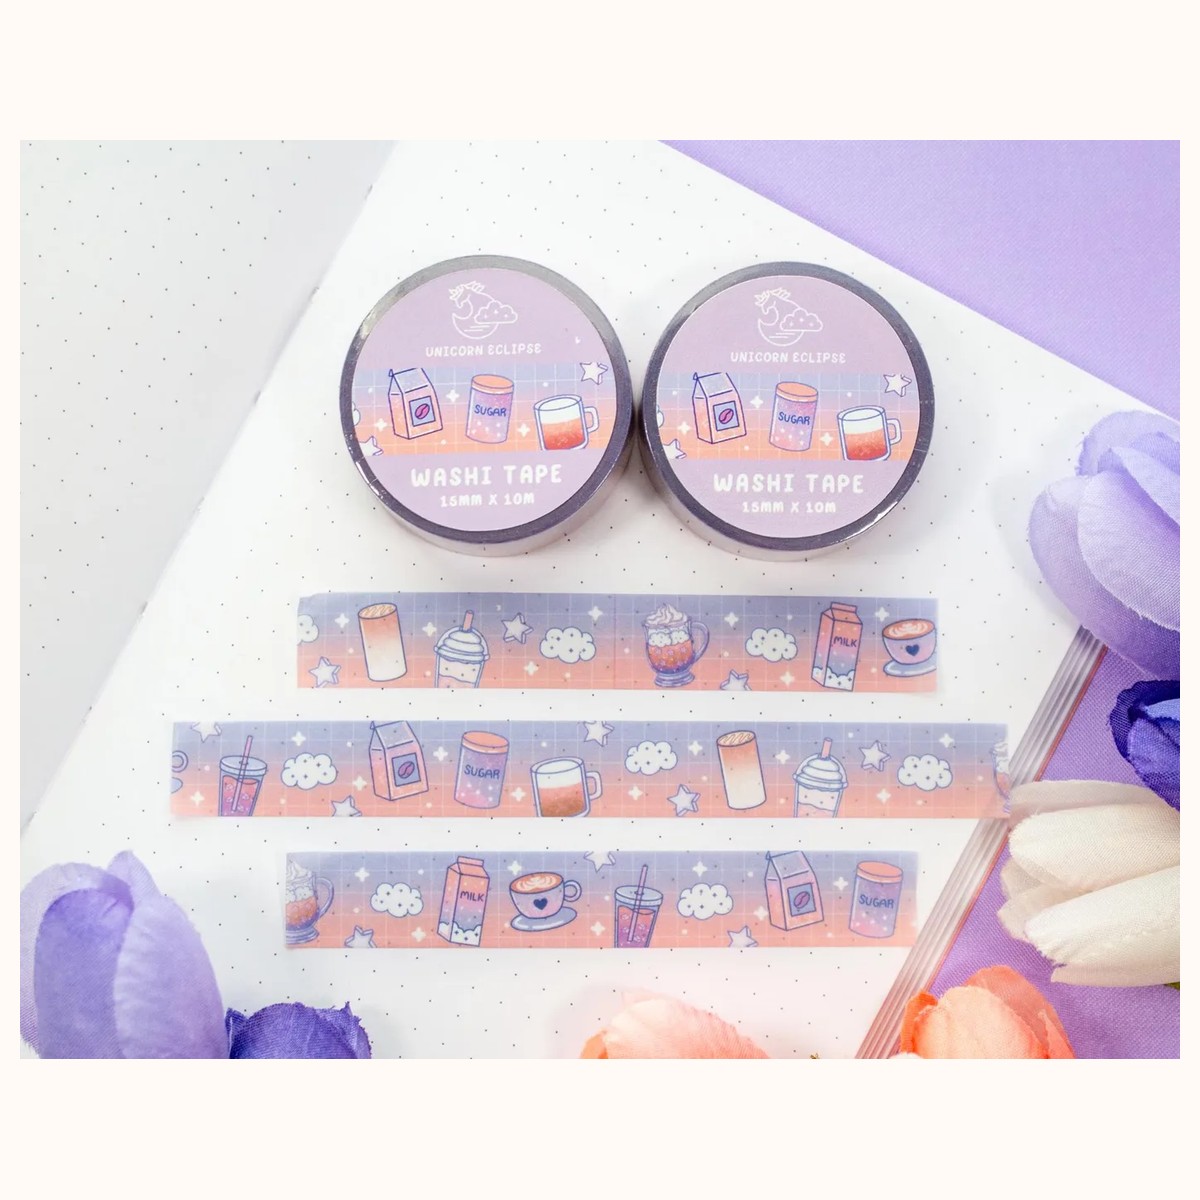
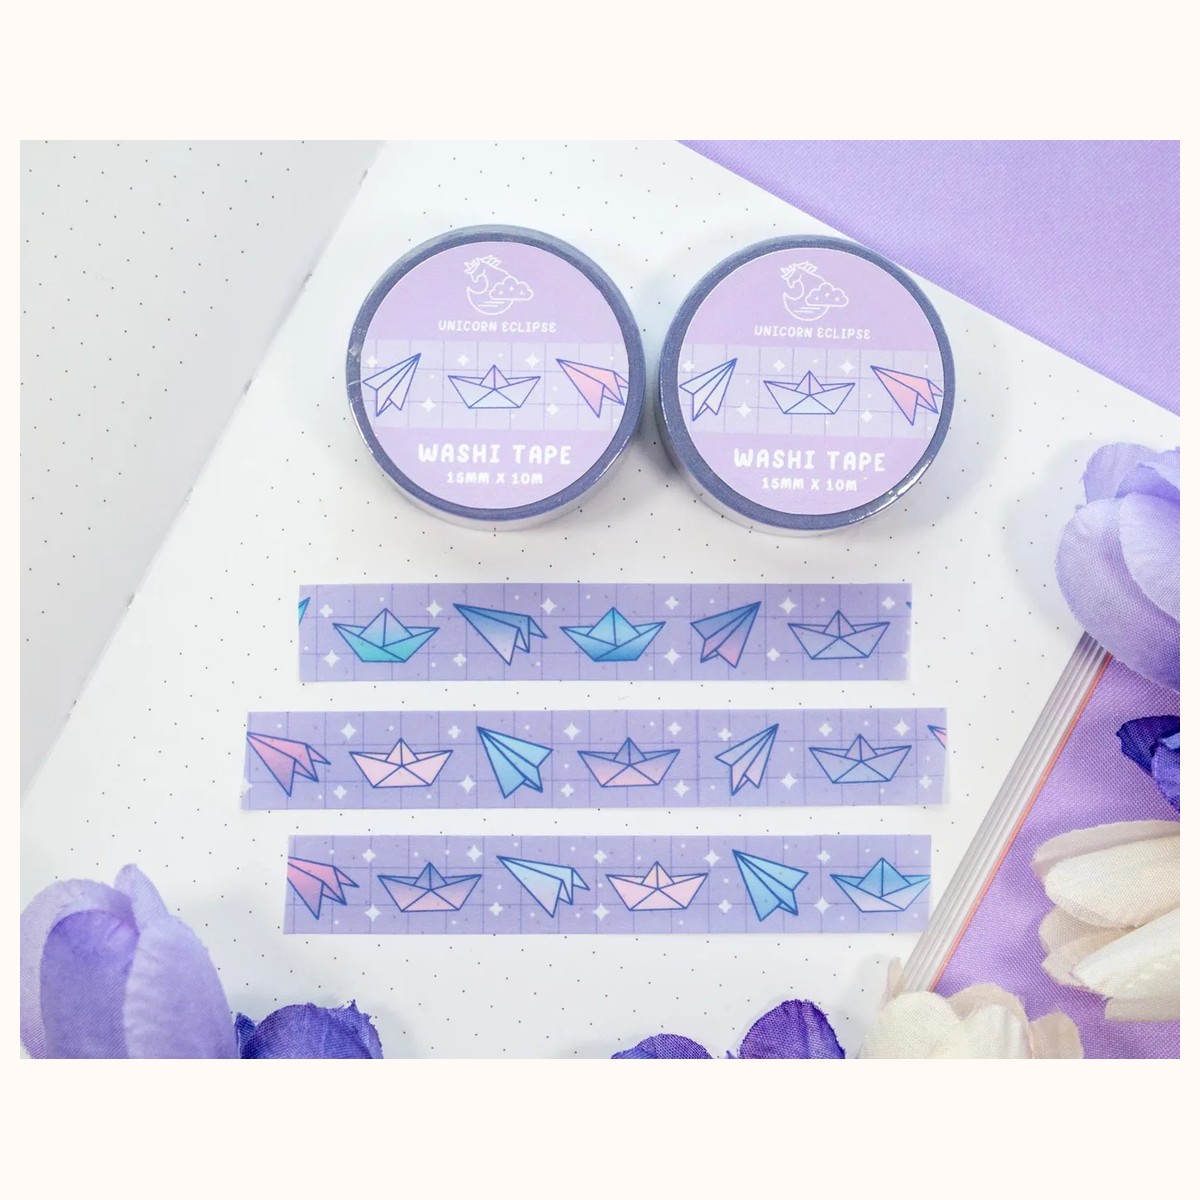
A practical first roll should be easy to handle and versatile across paper projects. For example, Paper Planes and Boats Washi Tape is a 15 mm by 10 m roll with a playful pattern that can work as a planner divider, envelope accent, or repeating scrapbook border. If you prefer a cozy theme, Coffee Shop Kawaii Aesthetic Washi Tape is another 15 mm by 10 m option. Its soft, coffee-shop-inspired artwork can suit a study spread without requiring a complicated color scheme.
Before buying or opening a roll, make three decisions:
- Scale: Will the tape fit the space? Measure a narrow planner column or card edge if you are unsure.
- Contrast: Will the design stand out against the paper, or do you want a quiet tone-on-tone detail?
- Purpose: Do you want a removable decoration, a visual divider, a temporary note, or a finishing detail on a gift?
If metallic detail appeals to you, Pink Galaxy Silver Foil Washi Tape adds silver-foil accents to a pink galaxy design. Use it where a small reflective detail will help—such as a card border or journal title—rather than covering a whole page immediately. Browse the washi tape collection when you want to compare themes and choose one roll that matches a project you already have in mind.
Do not assume every tape will behave identically on every surface. Even when a product is described as removable, test a small piece first on the actual paper or finish. Smooth notebook paper, textured cardstock, coated packaging, and painted surfaces can release tape differently. For books, photographs, walls, or valuable materials, use extra caution and remove slowly from an inconspicuous area first.
Learn the basic application technique
A clean strip starts with a clean surface. Brush away crumbs and loose fibers, then plan where the tape will begin and end. For a straight border, lightly mark two endpoints with pencil or use the paper edge as a guide. Hold the roll a few centimeters above the surface, place one end, and smooth outward instead of dropping the whole length at once.
For a short strip, tear the tape by pulling it sideways and slightly upward. A torn edge gives a casual handmade look. For a precise edge, place the tape first, then cut it with scissors. If you want multiple matching pieces, tear or cut one sample and use it as a length guide before making the rest.
Use light pressure. A fingertip or the flat side of a clean ruler can smooth the tape from the center toward the edges. Pressing too hard can crease thin paper or make repositioning more difficult. When layering, apply the background strip first and add the smaller accent second. Overlap only a few millimeters so the layers remain visible rather than becoming a thick block.
Try these three beginner exercises:
1. One-line border: Add a strip along one edge of a card, envelope, or journal page. Compare a straight cut with a torn end. 2. Three-tab marker: Fold short pieces over the edge of a page to create temporary section tabs. Keep the folded ends equal in length so the page remains easy to turn. 3. Color-block label: Place tape on scrap paper, write a short heading on it after testing your pen, and trim it into a label. If the ink smears, let it dry longer or use a pen that bonds better to the surface.
When removing tape, lift one corner with a fingernail and pull it back low and slowly rather than straight upward. Stop if fibers begin to lift. If a strip has a crease, remove it and start again instead of repeatedly rubbing the wrinkle. Save clean offcuts in a small envelope; short pieces are useful for sealing a note, marking a date, or making tiny collage details.
Put one roll to work in everyday paper projects
The most useful beginner habit is to give tape a specific visual role. In a planner, use one color or pattern for weekly headings and a short strip to separate personal, study, and errand sections. Keep functional writing on the page itself; tape should guide the eye, not hide the information. If the pattern is busy, use it once per spread and balance it with blank space.
In a journal, make a simple top-and-bottom frame. Place the top strip first, then add a shorter strip at the bottom in the same alignment. You can also tear small pieces and arrange them like collage tiles, leaving gaps between them. A repeated motif looks intentional when the pieces share a direction; random angles work better when you deliberately want a playful, scrapbook effect.
For cards and letters, tape can define an edge without replacing the message. Add a narrow strip to an envelope flap, then press down the corners so they do not catch during handling. A small piece can also mark the beginning of a handwritten note. On an envelope that will be processed or handled roughly, keep tape away from the address area, postage, and any closure that must remain secure.
For gift wrapping, use washi tape as an accent rather than the sole structural fastener. Wrap the paper normally, then add a vertical strip over the seam or a small cross of tape around a tag. Test the tape on a scrap of the same wrapping paper first: thin paper may tear on removal, while slick paper may not hold as firmly. If you need a stronger closure, use an appropriate wrapping adhesive and reserve washi tape for the visible design.
For study and organizing, create temporary labels on folders, notebooks, or index cards. Write the date or subject on a short strip only after checking that your pen dries cleanly. A patterned edge can separate revision topics without permanently marking the page. Since removable tape is best treated as a temporary aid, replace a label when its edge becomes dusty or starts lifting instead of adding more layers on top.
Troubleshoot before adding more tape
The strip is crooked. Do not pull the entire length up quickly. Lift it back to the last straight point, keep the tape low as you remove it, and reapply while guiding the roll with both hands. For long lines, apply in short sections rather than trying to land the whole strip at once.
The tape has bubbles or wrinkles. Small bubbles can sometimes be smoothed toward the nearest edge with a fingertip. A deep crease usually will not disappear cleanly. Remove that section, cut a fresh piece, and overlap the replacement by only a small amount. If wrinkles keep appearing on a curved object, use shorter segments rather than forcing one long strip around the curve.
The edge is lifting. Check whether the surface was dusty, oily, textured, or damp. Trim the loose end and test a fresh piece on a cleaned, dry area. For a project that must withstand frequent handling, do not rely on removable decorative tape as the only fastening method. Use it as an accent and choose a more suitable adhesive for the structural job.
The tape leaves a mark or pulls paper fibers. Stop and test another area before continuing. Pull more slowly and at a low angle. A coated surface and an uncoated paper surface can react differently, so a successful test on one material does not guarantee the same result elsewhere. For treasured pages, photographs, painted furniture, or walls, skip the experiment unless you are comfortable with the possibility of damage.
The design looks too busy. Remove a few strips rather than adding more. Limit the spread to one main pattern and one supporting color, repeat the same width, and leave breathing room around handwriting. If you have several attractive rolls, store them together but choose only one or two for the current project.
With these habits, washi tape becomes approachable: choose for the job, test the surface, apply in short controlled sections, and treat mistakes as easy edits. Start with one border or label today, then build toward layered pages and coordinated paper projects when you know how your chosen roll handles. For questions about available items or product details, use the store’s contact page or visit the about page for verification.
Related reading: How to Choose Stickers for Journals and Planners · Best Stickers for Scrapbooking: A Creative Guide · Vinyl vs. Paper Stickers: A Complete Guide